(Added Controls content + images) Tag: Visual edit |
No edit summary Tag: Visual edit |
||
| Line 2: | Line 2: | ||
== '''Default Controls''' == |
== '''Default Controls''' == |
||
| − | [[File:Default Controls - Left Hand.png |
+ | [[File:Default Controls - Left Hand.png|402x402px|alt=|thumb]] |
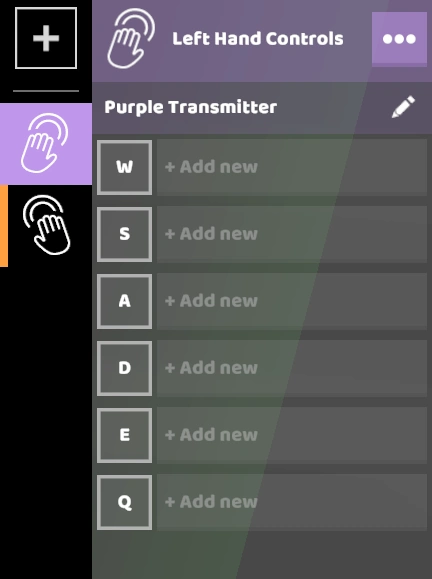
By default, RoboCo has pre-set controls for Left and Right hand. |
By default, RoboCo has pre-set controls for Left and Right hand. |
||
| Line 19: | Line 19: | ||
| ⚫ | |||
| ⚫ | |||
| Line 29: | Line 29: | ||
] |
] |
||
| + | |||
Revision as of 14:19, 25 September 2020
Default Controls
By default, RoboCo has pre-set controls for Left and Right hand.
The Left Hand uses W, S, A, D, E, and Q
The Right Hand uses I, K, J, L, U, and O.

]
Setting Custom Controls

Use this button to name your custom control scheme.

To map a custom key to a part function, click Add New.
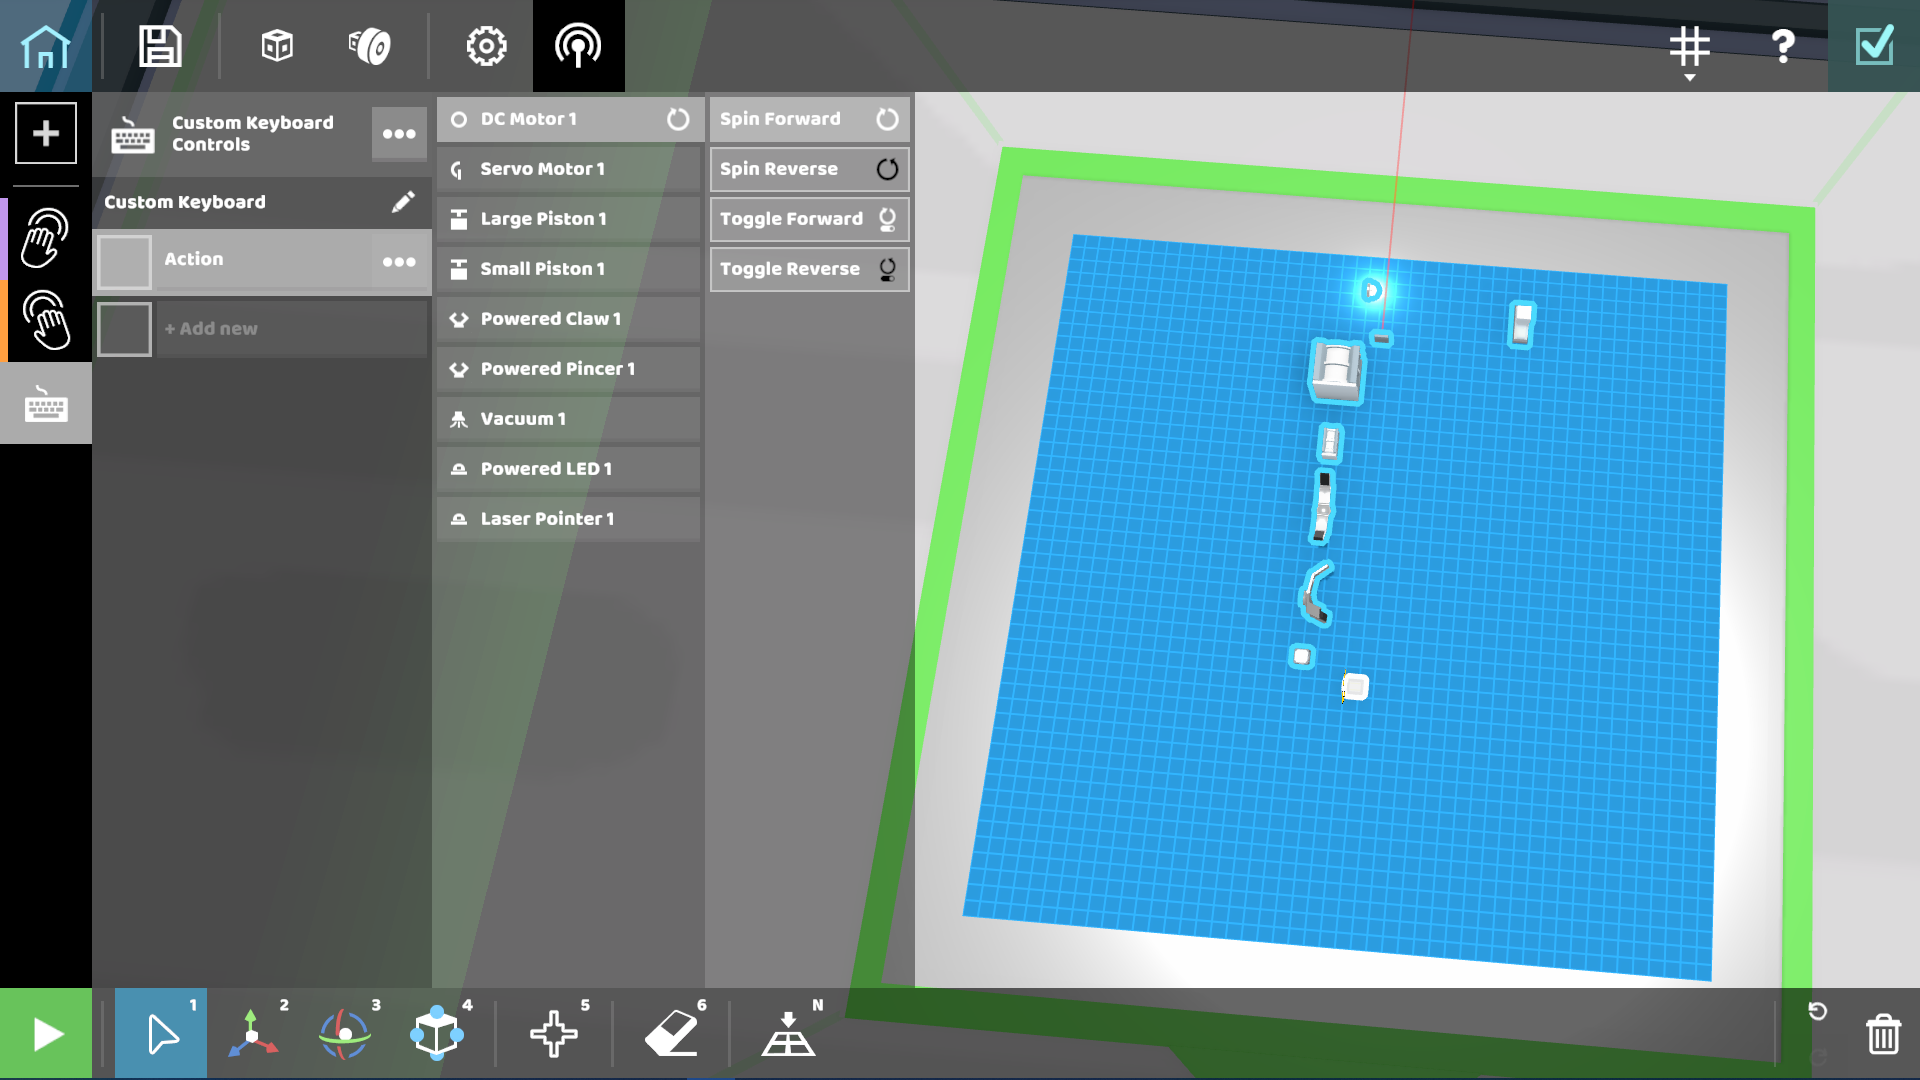
First, select a part and the action you want that part to take. In this case, we’ve selected the DC motor and chosen Spin Forward as the action.

Clicking the Ellipses next to my new Action, you can now rename the action and map it to any key you want.