Tag: Visual edit |
(Reformatting page layout) Tag: Visual edit |
||
| Line 24: | Line 24: | ||
!Visual |
!Visual |
||
|- |
|- |
||
| ⚫ | |||
| − | | |
||
| − | |[[File: |
+ | |[[File:Custom_Controls_-_Step_1.png|alt=|none|thumb|720x720px]] |
|- |
|- |
||
| ⚫ | |||
| − | | |
||
| − | |[[File: |
+ | |[[File:Custom_Controls_-_Step_2.png|alt=|none|thumb|720x720px]] |
|- |
|- |
||
| ⚫ | |||
| − | | |
||
| − | |[[File: |
+ | |[[File:Custom_Controls_-_Step_3.png|alt=|none|thumb|720x720px]] |
|- |
|- |
||
| ⚫ | |||
| − | | |
||
| − | |[[File:Custom_Controls_-_Step_4.png| |
+ | |[[File:Custom_Controls_-_Step_4.png|alt=|none|thumb|720x720px]] |
|} |
|} |
||
| + | <br /> |
||
| − | |||
| − | |||
| − | [[File:Custom Controls - Step 1.png|right|530x530px]] |
||
| − | |||
| − | |||
| ⚫ | |||
| − | |||
| − | |||
| − | |||
| − | |||
| − | |||
| − | |||
| − | |||
| − | |||
| − | |||
| − | |||
| − | [[File:Custom Controls - Step 2.png|right|530x530px]] |
||
| − | |||
| − | |||
| ⚫ | |||
| − | |||
| − | |||
| − | |||
| − | |||
| − | |||
| − | |||
| − | |||
| − | |||
| − | [[File:Custom Controls - Step 3.png|right|535x535px]] |
||
| − | |||
| − | |||
| ⚫ | |||
| − | |||
| − | |||
| − | |||
| − | |||
| − | |||
| − | |||
| − | |||
| − | |||
| − | |||
| − | |||
| − | [[File:Custom Controls - Step 4.png|right|533x533px]] |
||
| ⚫ | |||
Revision as of 14:30, 25 September 2020
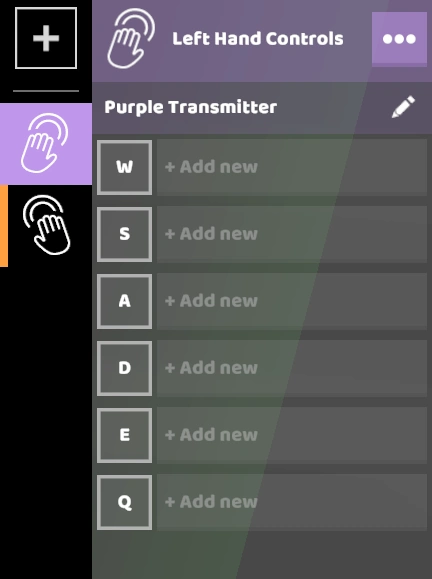
Default Controls
By default, RoboCo has pre-set controls for Left and Right hand.
| Left Hand | Right Hand |
|---|---|
 |
 |
| The Left Hand uses W, S, A, D, E, and Q | The Right Hand uses I, K, J, L, U, and O. |
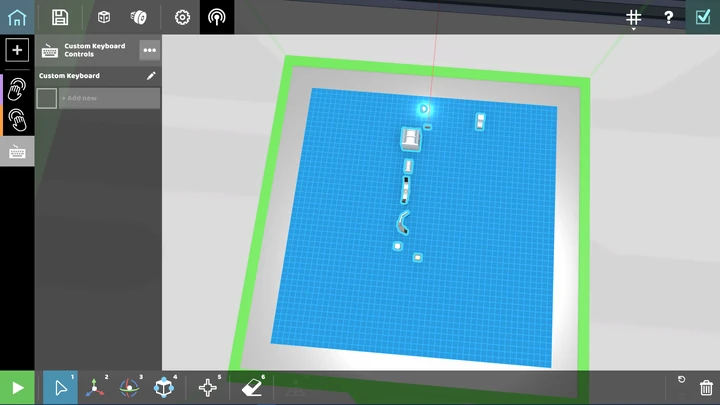
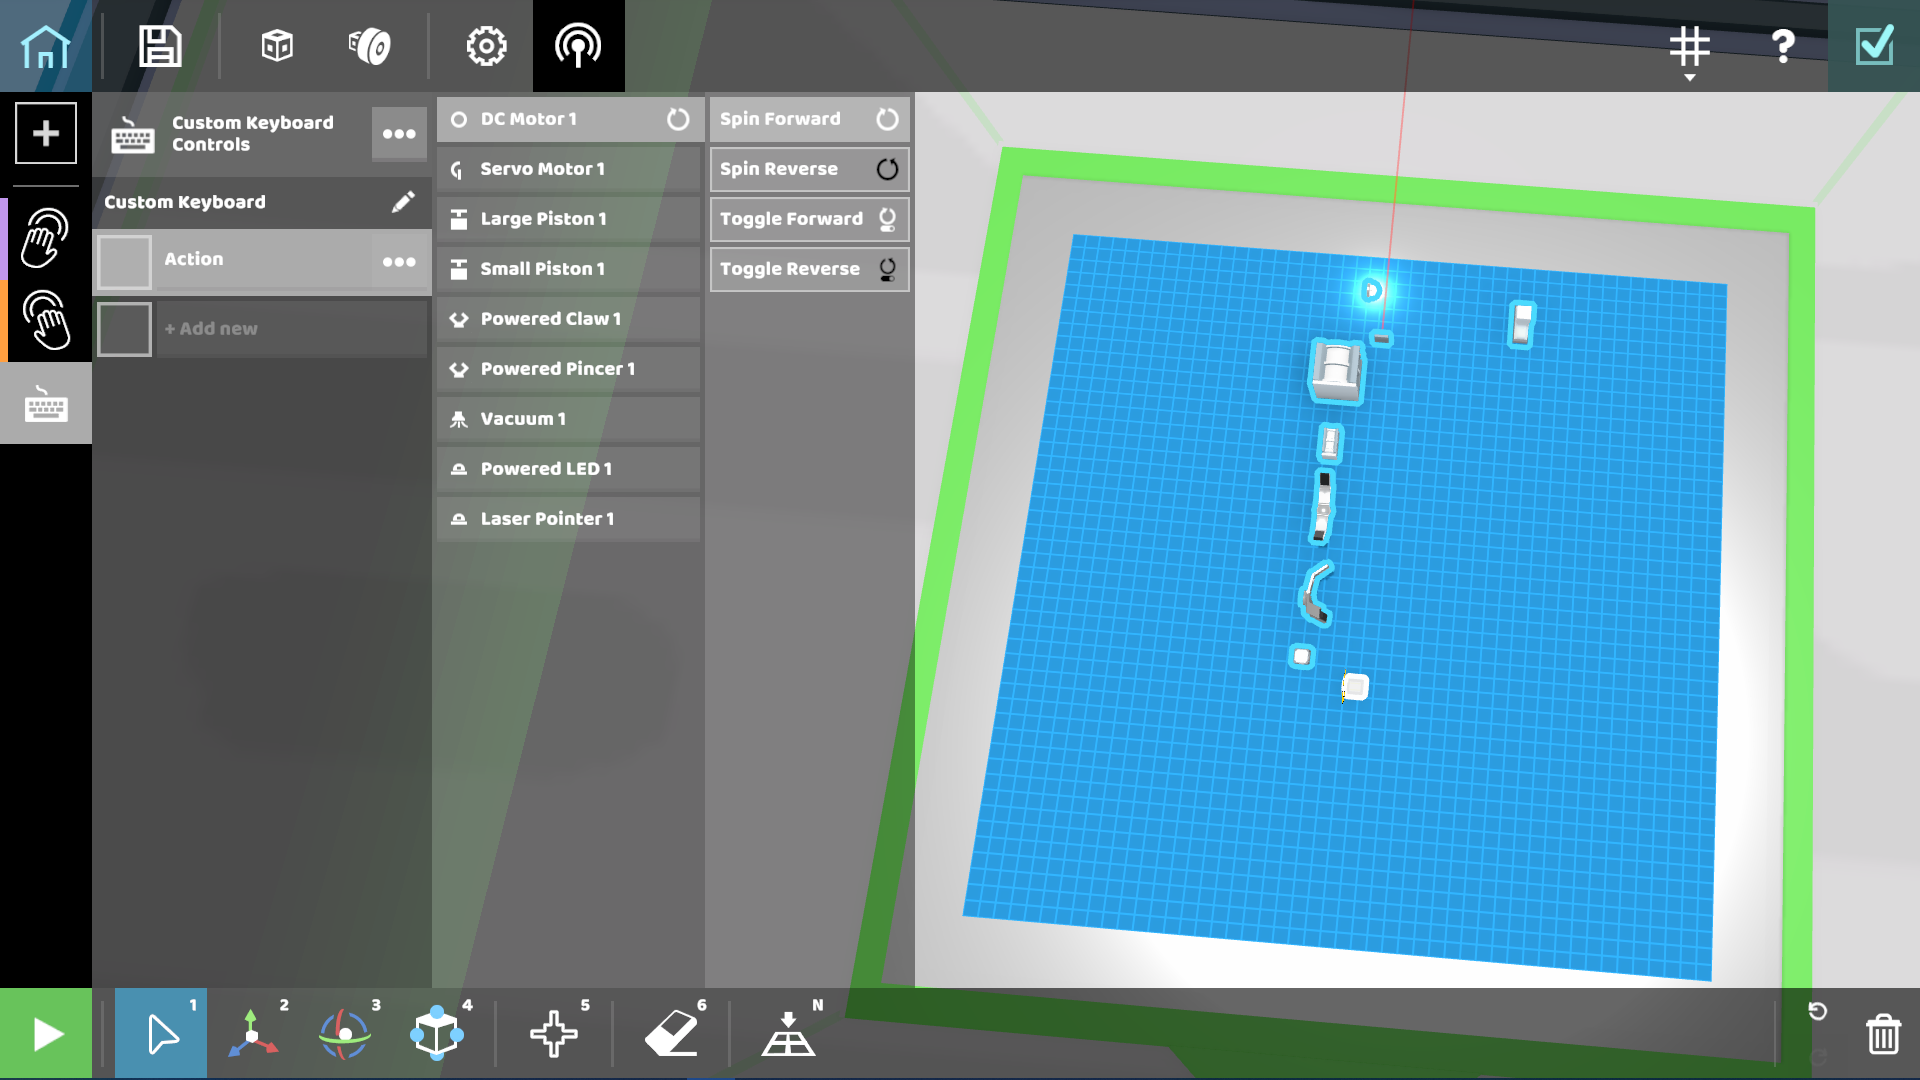
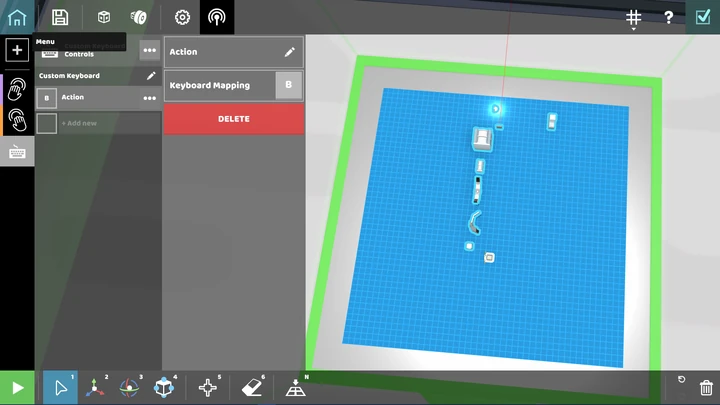
Setting Custom Controls


